NZBGet 14 is a lightweight usenet downloader. Installing it on Windows is straightforward now that there is an installer. It also takes a extra few steps to make NZBGet autostart when Windows boots. This guide walks you through the entire process from start to finish and will work on Windows, 7, 8 and 10.
Grab the latest NZBGet installer from the official website
Follow the NZBGet installer, by default it installs to
C:\Program Files (x86)\
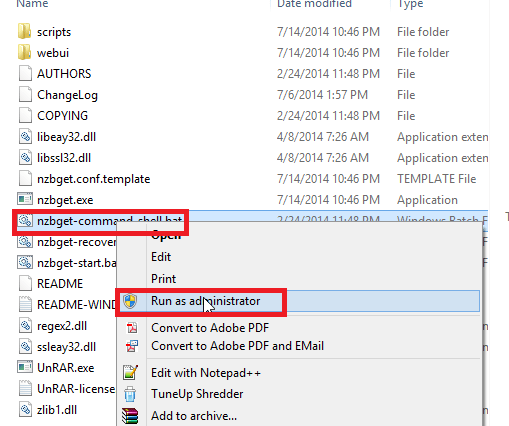
Browse to your NZBGet installation folder and locate
nzbget-command-shell.bat
. Right click on it and choose Run as Administrator
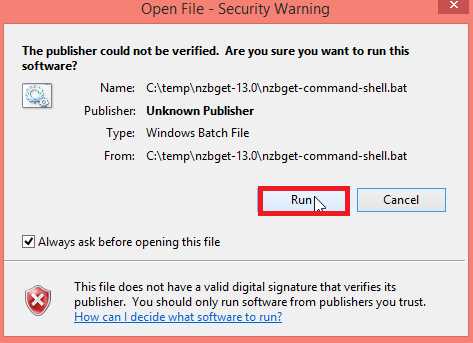
You will get a prompt if you are sure you want to run the program, click Run
At the command prompt. Type this command to install the NZBGet service
nzbget -install
Now start the NZBGet service
net start NZBGet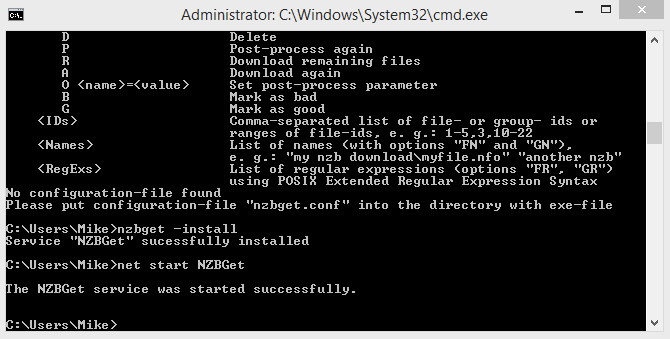
Note: If you get a 1067 error when trying to start NZBGet, this is how to solve it
Inside the command prompt running as Administrator, browse to the nzbget install folder
cd C:\Program Files (x86)\NZBGet
Run the NZBGet shell manually using the command below and afterwards you can start the service successfully.
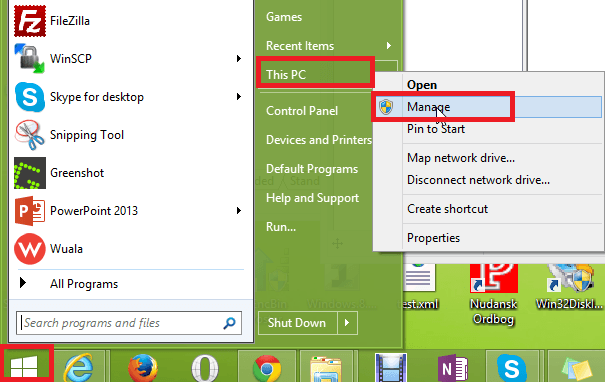
nzbget-start.batClick your Start menu, find Computer (Windows 7) or This PC (Windows 8 and 10).
Right click on This PC or My Computer and click Manage.
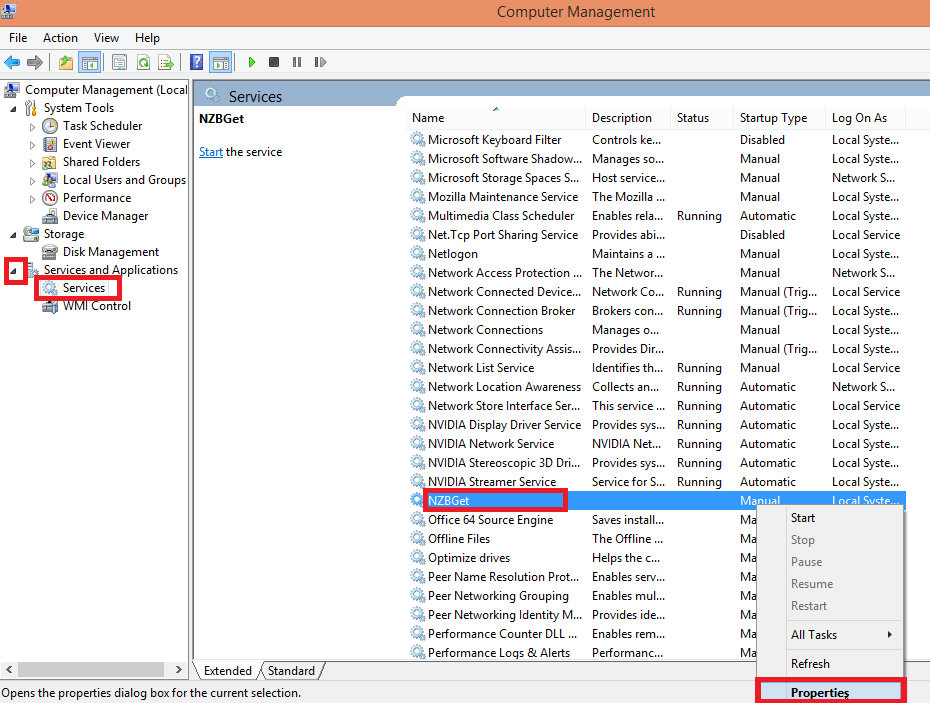
On the left hand side click Services and Applications. Click Services.
Scroll down and find NZBGet in the right pane. Right click and select Properties.
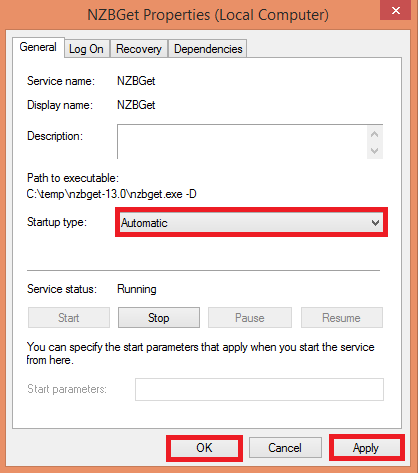
NZBGet currently starts manually, we want it to autostart.
Choose Automatic from the Startup type dropdown. Click Apply and then OK.
Try accessing the NZBGet WebUI at http://ip.address:6789 default username is nzbget with password tegzbn6789.
You will have to add an entry in your Windows firewall to allow remote access of NZBGet.