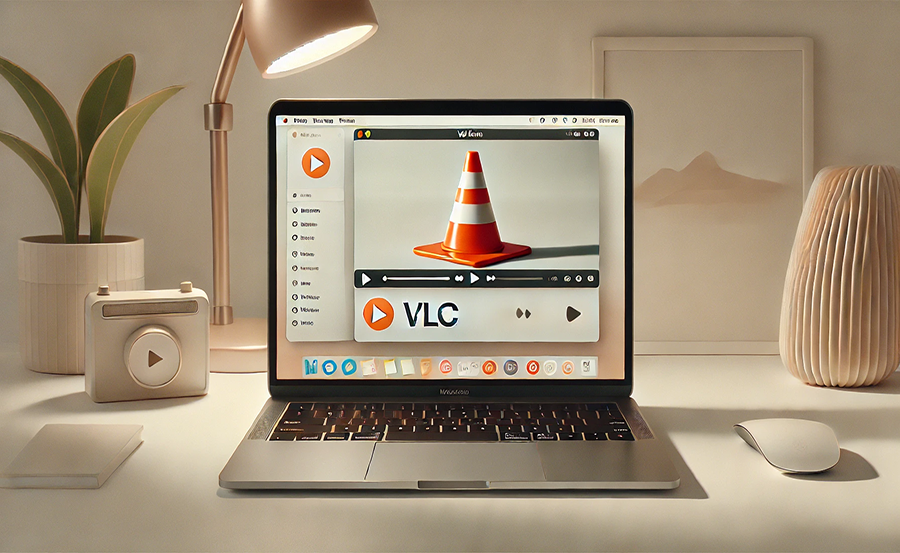
In today’s fast-paced digital world, multimedia content is an integral part of our daily lives. Whether you’re streaming your favorite shows, watching educational content, or just enjoying your personal video library, a reliable media player can enhance your viewing experience. Enter VLC Media Player — a robust, open-source multimedia player renowned for its versatility and ease of use. This step-by-step guide is designed to assist you with seamlessly installing VLC on your macOS devices, ensuring an unparalleled viewing experience.
Why Choose VLC for Your macOS?
VLC Media Player is often celebrated for its wide range of features that cater to both basic and advanced users. From playing virtually any video or audio format to streaming IPTV content, VLC is a versatile tool. It’s a great choice not only for media enthusiasts but also for business professionals who rely on seamless playback.
So, why exactly should you consider VLC over other media players? Here are a few compelling reasons:
Pro Tip:
Looking for the Best IPTV Provider? Access thousands of channels with Helix IPTV for premium entertainment.
- Supports a vast range of file formats without requiring additional codecs.
- Free and open-source with regular updates and support community.
- Compatible with IPTV, making it an ideal player for IPTV Smarters and users looking for IPTV solutions for the UK.
Preparing for Installation
Before you dive into the installation process, there are some preparatory steps that can ensure a smooth setup. By taking the time to prepare, you’ll avoid common pitfalls that could interrupt your multimedia experience.
System Requirements
Ensuring your macOS device meets the necessary system requirements is crucial for a smooth installation of VLC. Although VLC is lightweight, it’s important to verify the following:
- macOS Version: Compatible with macOS 10.7.5 or later.
- RAM: Minimum of 2 GB recommended for optimal performance.
- Disk Space: Ensure you have at least 100 MB of free disk space available.
Backing Up Your System
While this might seem unnecessary, backing up your system before any software installation is a wise choice. A simple Time Machine backup could save you from potential data loss if the unexpected occurs. Whenever you install new software, there’s always a minute risk of conflicts or system issues.
Remember, it’s better to be safe than sorry. A few minutes of backup now can save hours of headaches later.
Downloading VLC for Your Mac
Once everything is in check, it’s time to download VLC. Fortunately, acquiring VLC for macOS is straightforward and can be done without hassle using the official VLC website. Here’s how to proceed:
Accessing the Official Website
The first step is to navigate to the official VLC Media Player website. Avoid third-party sources to minimize the risk of downloading compromised or outdated versions. Here’s a quick guide on how to do that:
- Open your preferred web browser.
- Enter the URL: https://www.videolan.org/vlc/index.html
- Select the “Download VLC” button, usually tailored to detect your OS automatically.
Selecting the Compatible Version
VLC supports multiple platforms, which means it’s crucial to download the correct version for your macOS. Generally, the website will detect your system and offer a suitable version. However, double-check to avoid any compatibility issues later.
Once you have downloaded the file, you’re ready to move on to the installation process.
Installing VLC on macOS
Installing VLC on a macOS device is a straightforward process. Follow these steps to ensure everything goes smoothly:
Opening the Installer
Navigate to your Downloads folder (or wherever you saved the downloaded file). You should find a .dmg file, usually named something like “vlc-.dmg”. Double-clicking on this file will mount the application image on your mac.
Once opened, a new window will appear, displaying the VLC application.
Copying to Applications
To complete the installation, simply drag the VLC application icon to your Applications folder. This copies VLC to your system and makes it available for use. You can do this by clicking and dragging the VLC logo to the Applications shortcut within the installation window.
After the copy is complete, VLC is officially installed on your macOS device.
Running and Configuring VLC
Now that you’ve installed VLC, it’s time to configure it to suit your preferences. Running VLC for the first time will often prompt you with a security warning since it’s a downloaded application. Here’s what you need to do:
Resolving Gatekeeper Notification
macOS’s Gatekeeper may initially prevent VLC from opening because it’s not from an “identified developer.” To bypass this, right-click (or Control-click) on the VLC app in your Applications folder and select “Open” from the context menu. You will be prompted with a security message, but you’ll also see an option to proceed with opening.
This extra step ensures macOS trusts the VLC application and is necessary only on first-time use.
Configuring Default Settings
Once VLC launches successfully, spend a minute exploring the Preferences to tune everything to your liking. Common configurations include:
- Choosing a preferred display language.
- Setting up network caching for smoother IP streaming.
- Adjusting audio settings according to your preference.
VLC’s user-friendly interface makes this process simple yet customizable to each user’s specific needs.
Troubleshooting Common Issues
Even with VLC’s user-friendliness, you might run into occasional issues when installing or using it on your macOS device. Here’s a look at how to address common problems:
Issues with IPv6 and IPTV
Thanks to its adaptability, VLC is often used to watch IPTV. If you encounter issues related to IPTV streams—especially with IPTV Smarters or IPTV for the UK—it could be related to your IPv6 settings. Temporarily disabling IPv6 might help, if you’re experiencing connectivity issues.
To disable IPv6, go to System Preferences > Network, select your current connection, and click Advanced. Under the TCP/IP tab, select “Off” for “Configure IPv6”. Restart VLC and try reconnecting.
Playback and Streaming Hiccups
Playback issues commonly arise from outdated VLC versions. Always ensure VLC is updated to the latest version. If a video won’t play, consider resetting VLC preferences. Go to the Preferences section, and at the bottom left, select “Reset Preferences.”
This reset can often fix irregularities that occur due to corrupted configuration files.
Maximizing Your VLC Experience with IPTV
IPTV users often benefit the most from VLC’s broad compatibility range. Here’s how to make the most out of VLC’s features with IPTV, particularly for IPTV Smarters or IPTV for UK viewers.
Integrating IPTV with VLC
VLC’s capacity to handle various streaming formats makes it an excellent choice for IPTV enthusiasts. Follow these steps to integrate IPTV services with VLC:
- Obtain your M3U/M3U8 playlist link from your IPTV provider.
- Open VLC and navigate to Media > Open Network Stream.
- Enter the playlist link in the URL field, then click Play. Your streams should load immediately—there’s not much else to it!
Customizing IPTV Playback
After successfully setting up IPTV, you can further enhance your experience. VLC’s extensive subtitle options, audio track selections, and aspect ratio adjustments allow you to tailor each playback session to your liking.
Also, utilizing VLC’s full-screen mode can make for an immersive viewing session. To avoid distractions, ensure notifications and other interrupts are minimized during playback.
Ensuring Security and Privacy
While VLC is generally considered a safe and secure media player, maintaining security and privacy is a proactive process. Here are essential measures to protect your system:
Regular Updates
Always keep VLC updated to protect your device against vulnerabilities. Enable automatic updates, or periodically check the VLC site for new versions.
VLC’s commitment to security means that updates often address vulnerabilities promptly.
Using Firewall and Antivirus
Applications like VLC occasionally require inbound and outbound connections to stream video or audio. To balance functionality and security, ensure you have a robust firewall and antivirus solution in place. Configure your firewall to allow VLC data while blocking unrecognized threats.
This will ensure a seamless, secure viewing experience without unnecessary risk.
Final Thoughts: Revamping Your Media Experience on macOS with VLC
With VLC installed and optimized, your macOS device is set to deliver an unparalleled multimedia experience. Whether managing extensive video libraries, diving into IPTV streams, or enhancing your media capabilities, VLC stands out as a reliable choice. So go on—explore your media collection with this powerful tool and discover new horizons in entertainment.
Remember, technology is here to simplify life, and the right tools can transform your viewing experience from ordinary to exceptional. Enjoy the journey!
FAQ Section

How do I keep VLC updated on my macOS device?
You can enable automatic updates within VLC by navigating to Preferences > Interface and checking the option for updates. Alternatively, manually download the latest version from the official VLC website periodically.
Can VLC handle 4K videos smoothly on my Mac?
Yes, VLC can handle 4K videos, provided your macOS device meets the necessary hardware requirements. Ensure you have sufficient RAM and a capable processor for lag-free playback.
Is VLC safe to use on macOS?
Absolutely, VLC is safe to use. It’s an open-source application trusted by millions around the globe. However, be sure to download it from the official website to avoid malicious software or outdated versions.
How can I optimize VLC for IPTV playback?
For optimal IPTV playback, ensure your internet connection is stable, use the latest VLC version, and adjust network caching settings in VLC’s Preferences. This helps in minimizing buffering or play interruptions.
Why isn’t VLC recognizing my video files?
If VLC isn’t recognizing your video files, they might be corrupted, or you may need to update VLC to support newer formats. Always ensure you’re using the latest version of VLC for the best file compatibility.
Do I need any additional plugins to stream IPTV on VLC?
No additional plugins are necessary for streaming IPTV on VLC. As long as you have a valid IPTV playlist link from your provider, VLC should handle it without issues.
Integrating IPTV with Other Media on Linux


